Airsoft Where Do the Parts Go in My Gearbox

Airsoft Where Do the Parts Go in My Gearbox


Introduction

Airsoft guns are a fun tool used in the sport of airsoft. The sport is like to paintball, however, the guns used more closely resemble their real counterparts and instead of paint they shoot pocket-sized plastic BBs. This guide goes over one of the more common problems in the sport, broken internal parts, and more than specifically the piston. This effect typically presents itself every bit either a loud and atrocious sounding grinding/screeching noise, or by very low to non-existant compression. Utilise this repair guide to replace a piston and restore your airsoft gun to working condition. These instructions take will you step by step to detach, supercede a part, and reassemble your airsoft gun.

  1. Insert the  6 mm Allen wrench into the back of the spring guide at the back of the gearbox. Push in and turn the wrench 90 degrees to release the spring guide and spring. The spring is heavy and will require a lot of force to push in.

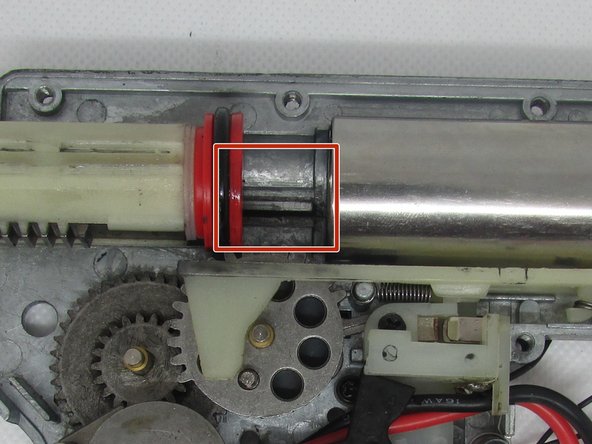
    • Insert the six mm Allen wrench into the back of the jump guide at the back of the gearbox.

    • Push in and plow the wrench 90 degrees to release the jump guide and spring.

    • The spring is heavy and will crave a lot of strength to push in.

    • The goal of turning the wrench is to line up the winglets with the holes in the back of the gearbox.

    • The spring will want to bound out of the gearbox, so hold on to it tightly.

  2. Take out the eight screws (four lower and four upper) using the #3 Phillips-Head screwdriver. Top four screws are M3 6mm Bottom four screws are M3 16mm

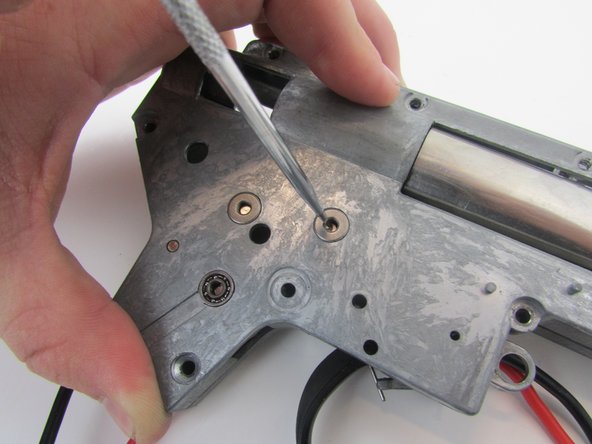
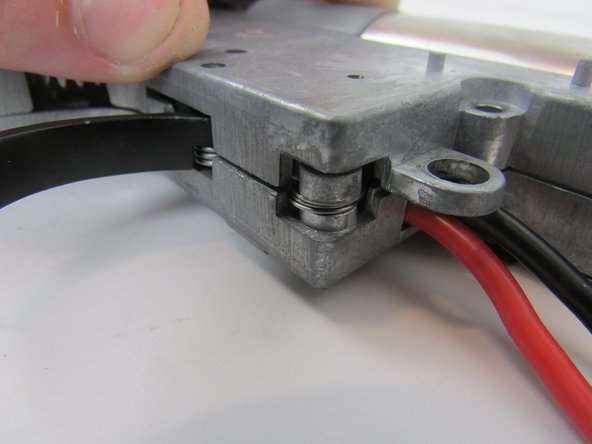
    • Take out the viii screws (four lower and iv upper) using the #3 Phillips-Caput screwdriver.

    • Acme four screws are M3 6mm

    • Bottom 4 screws are M3 16mm

  3. Carefully separate the bottom half of the gun from the top half, leaving the cylinder and gears in place. The anti-reversal latch (left, photo 3) has a spring on it that forces it out of place. If it falls out of the gearbox, put it back in facing the first gear. The trigger (right, photo 3) has a spring that likes to push the trigger away from the gearbox. Keep an eye on it and put it back in if needed.

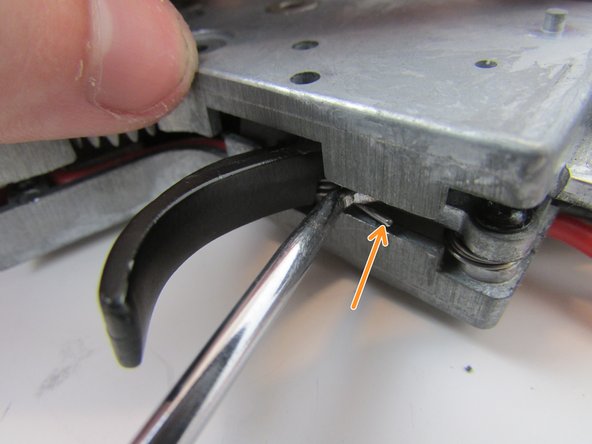
    • Carefully separate the bottom half of the gun from the top one-half, leaving the cylinder and gears in identify.

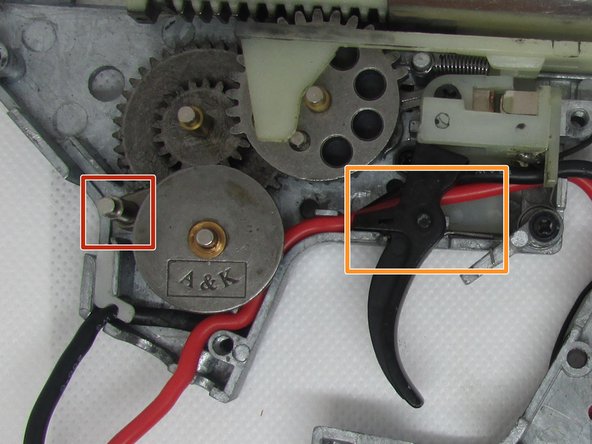
    • The anti-reversal latch (left, photo iii) has a bound on it that forces it out of place. If it falls out of the gearbox, put it back in facing the start gear.

    • The trigger (right, photo 3) has a spring that likes to button the trigger abroad from the gearbox. Proceed an heart on information technology and put it back in if needed.

  4. Remove the piston. You may need to take off the piston head and put it on the new piston depending on what part you have.

    • Remove the piston.

    • You may need to accept off the piston head and put information technology on the new piston depending on what part you have.

  5. Insert the new piston into the gun. The piston should have the teeth facing the gears and index into the ridge behind the cylinder.

    • Insert the new piston into the gun.

    • The piston should have the teeth facing the gears and index into the ridge behind the cylinder.

  6. Replace the top half of the gearbox using the pick to line up all of the gears with their respective holes. Ensure that the trigger and the anti-reversal latch are lined up with their respective holes (Orange). Ensure that the trigger and the anti-reversal latch are lined up with their respective holes (Orange).

    • Replace the top half of the gearbox using the pick to line up all of the gears with their corresponding holes.

    • Ensure that the trigger and the anti-reversal latch are lined up with their respective holes (Orange).

  7. Use the pick to push the safety bar into the gearbox once the gears are aligned. If the trigger spring pops out, use the pick to slide the spring back in before closing the gearbox. If the trigger spring pops out, use the pick to slide the spring back in before closing the gearbox.

    • Employ the selection to push the condom bar into the gearbox once the gears are aligned.

    • If the trigger spring pops out, apply the pick to slide the spring back in before endmost the gearbox.

  8. Repeat steps 1-2 in reverse order. When putting the spring back in, the winglets on the spring guide should go through the holes on the back of the gearbox and then be turned 90 degrees.

    • Repeat steps one-ii in reverse order.

    • When putting the jump back in, the winglets on the leap guide should go through the holes on the back of the gearbox and and so exist turned xc degrees.

Determination

To reassemble your device, follow steps one-2 in reverse society.

Squad

Embed this guide

Cull a size and copy the code below to embed this guide equally a small widget on your site / forum.

Preview

Airsoft Where Do the Parts Go in My Gearbox

Posted by: arnettsued1953.blogspot.com

0 Response to "Airsoft Where Do the Parts Go in My Gearbox"

Post a Comment

Iklan Atas Artikel

Iklan Tengah Artikel 1

Iklan Tengah Artikel 2

Iklan Bawah Artikel